Grout Pumping Tips

Introduction
Grout pumping is a critical process on many construction and ground-works projects. Getting the setup, mix and operation right can make the difference between smooth production and costly downtime. Use these practical grout pumping tips to improve productivity, reduce problems on site and maximise the performance of your equipment.

Choose the Right Material
Before you begin pumping, make sure you understand the material you will be using. Different grout types — e.g. structural repair, high-strength, repair mortar, non-shrink, floor topping, high flowability — have different behaviours and pumping requirements. Key factors that influence how a material can be pumped include:
- Mix design (i.e. combination and type of raw material inputs). A ‘wet’ mix will have a higher water ratio and much higher flowability than a ‘dry’ or ‘bony’ mix.
- The presence of additives will alter the performance and characteristics of the material. These can include elasticisers, plasticisers, flow assistors, rapid set etc.
- The presence of aggregate and its size and shape will effect material pumpability.
- Set time. An important consideration to avoid any potential blockages.
- Weather conditions and Job site conditions. Factors such as the temperature can significantly impact the characteristics of your material.
- Job site requirements. For example, pumping height, distance, site access.
For successful pumping, aim for a flowable or pourable consistency — generally, if the material can be poured from a bucket, it is suitable for pumping. Grouts that are too thick can clog hoses, causing issues partway through a job.
When dealing with materials that include aggregate, keep the mix on the lower end of pourable (i.e. less wet) to optimise pumpability.
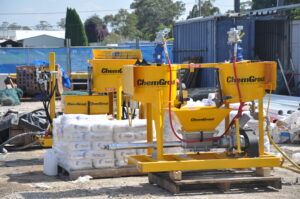
Plan Your Job
A well-planned job saves time and reduces problems during production. Some essential considerations include:
- Proximity to the work area: Place the pump as close as possible to reduce hose length and friction losses. Short, straight hose runs are easier to pump through and more efficient.
- Material and water access: Make sure sand, cement, fly ash, water and any other required material is easy to access for mixing, pumping and clean-up.
- Disposal zones: Identify where waste materials and washout water will go before starting.
- Job site conditions: Understand what conditions exist on the job site that may effect your material or ability to mix & pump.
- Pumping distances: Should always be kept to a minimum and hoses should run as straight as possible no matter what material is being used. Some materials cannot be pumped long distances, so its important to know the proposed material characteristics.
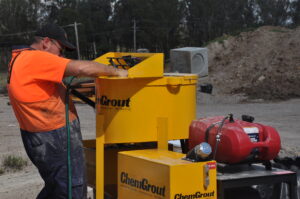
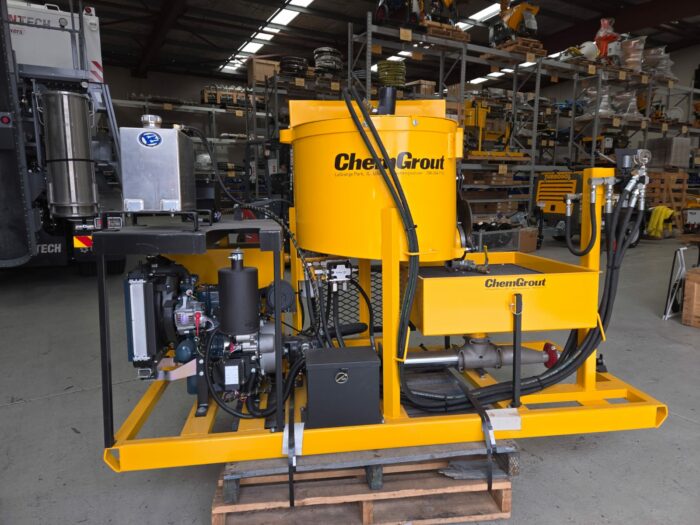
Prepare the Pump
Ensuring the pump is properly prepared for the job at hand will reduce the potential for damage and avoidable downtime.
Prior to use, always rinse the mixer and charge the pump hopper with sufficient water to thoroughly flush the pump and all grout lines. to purge the grouting system of any residual materials or scale that may exist.
Remove the grout hose from the pump and drain out all water by progressively elevating the entire hose, starting at one end and proceeding to the other.
Next, mix a cement and water slurry and pump this through the grouting system. This will remove any residual water from the hose, lubricating it for the production material to follow.
Now the production grout may be mixed and pumped immediately behind the slurry mix.
Do not attempt to pump production material through a dry hose.
Monitor Equipment During Production
Once you start pumping production material, keep a close eye on performance:
- Watch for blockages: Be alert to any signs of restricted flow or unexpected pressure changes.
- Keep equipment clean: Prevent material buildup around the mixer, pump and packing. Dirty equipment can reduce performance and shorten machine life.
- Lubricate packings: Pump packing should be properly lubricated and adjusted — tight enough to prevent leaks, but not so tight that it causes excessive wear.
Never run a grout pump without fluid in it. Doing so can cause severe damage to the pump mechanism. Always keep the hopper and lines properly primed and filled while pumping.
Proper Clean-Up After Pumping
When work is done, thorough cleaning is essential to protect your pump and hoses:
- Dispose of leftover production material properly.
- Wash out mixer tanks, paddles and baffles by pumping the resulting wash water through the grout hoses to a designated disposal area. Continue until clear water discharges.
- Drain residual wash water from the pump and lines when cleaning is complete to reduce corrosion and blockages later.
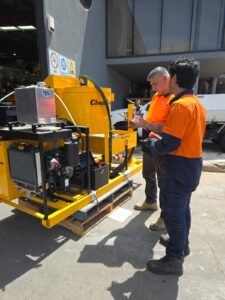
Always Safety First When Pumping Grout
Safety cannot be overlooked during any pumping operation. Ensure the safety recommendations of the manufacturer are followed.
Pump Better, Work Smarter
Successful grout pumping begins with understanding your material, good job planning and efficient setup. Whilst on the job, diligent monitoring and equipment operation are crucial. Finally, proper shut-down and clean-out procedures will ensure the longevity and performance of your pump.
Are you planning an upcoming grouting project? Interested in discussing our extensive range of grout mixers & pumps? Talk to the experts at CGS Equipment, who are always happy to guide you through everything you need to know for a successful and profitable project.
For a deeper look at grout mixing and pumping considerations, visit the official ChemGrout Resources page